Glove80 USB Dongle
ZMK Firmware build with HID battery reporting
Post published on July 29, 2026.Recent activity in the repo: 
...back to Input Devices overview
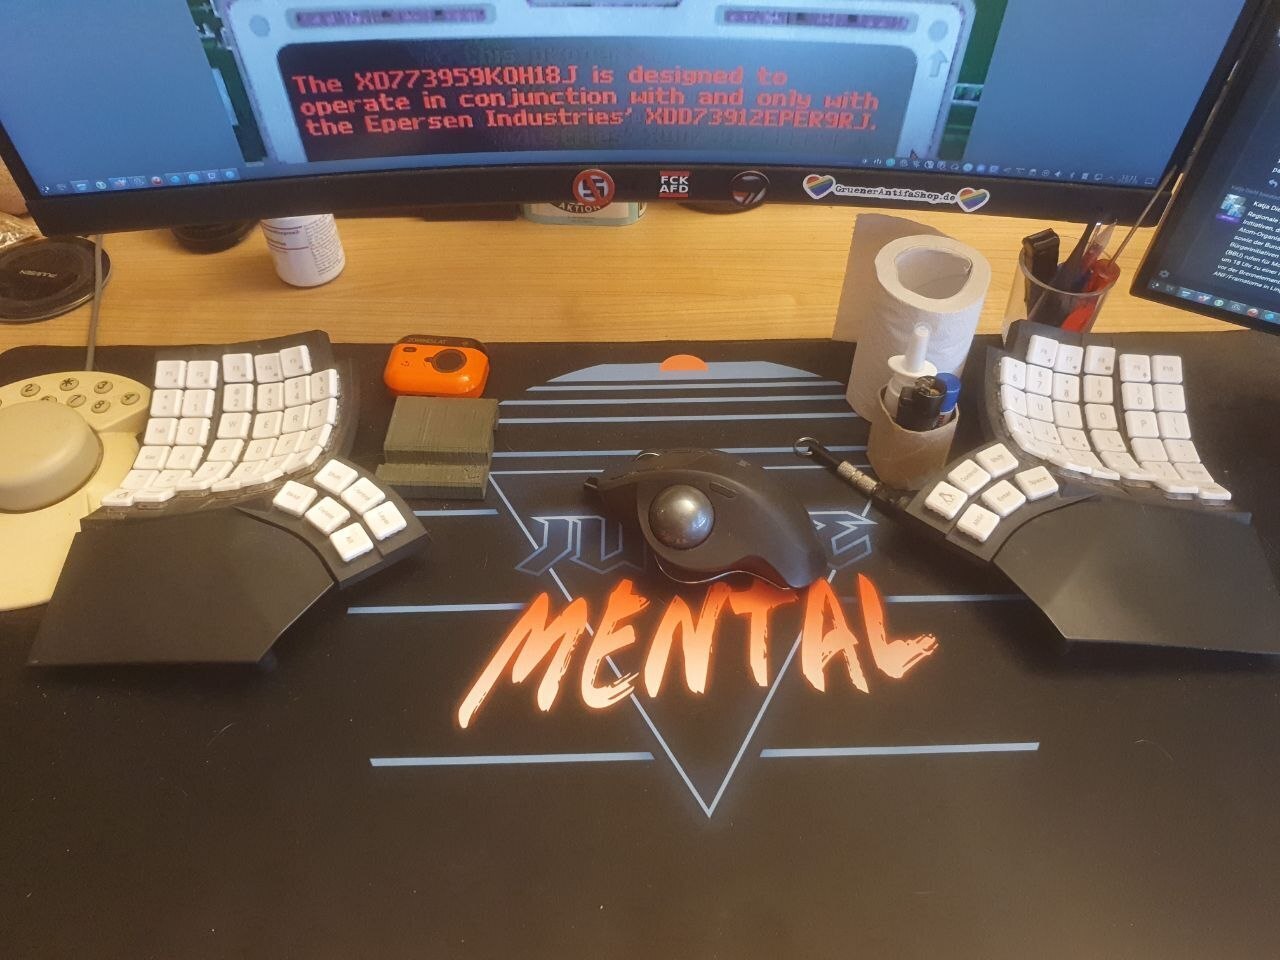
For about three years, since September 2023, my daily-driver keyboard has been the Glove80. It has always worked great, with the only downside being the battery life of the left half, which is much shorter due to it being the BLE central, the right half only operating as BLE peripheral.
The manufacturer often mentioned it is possible to use a dongle to avoid that problem. But many people struggle to get that working.
So here is how I did it and how you can replicate it.
Quick Start
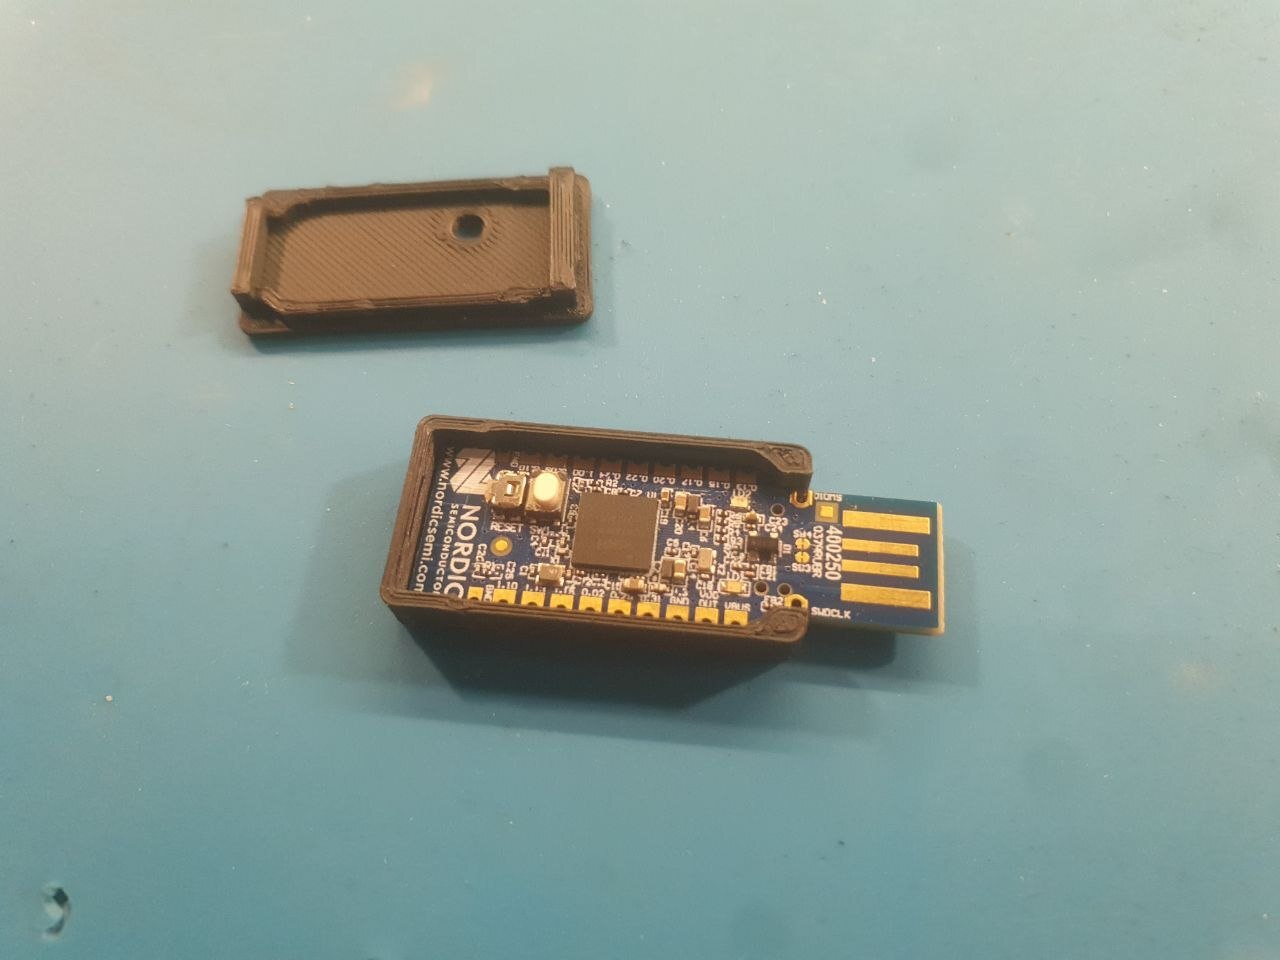
You need to buy an nRF52840 Dongle, aka. PCA10059, from Nordic. You can check their website for distributors. Other dongles or microcontroller boards can work as well, but then you need to make your own config.
Download the latest pre-built binaries from my GitHub releases.
Latest release of glove80-dongle: Custom ZMK with USB HID multi-battery reporting (2026-07-24 13:34:13)
(at the time of this writing)
Release Assets:
- dongle_fw.zip (290 KiB)
- glove80_custom-glove80_lh-zmk.uf2 (390 KiB)
- glove80_custom-glove80_rh-zmk.uf2 (390 KiB)
- glove80_custom.settings_reset-glove80_lh-zmk.uf2 (127 KiB)
- glove80_custom.settings_reset-glove80_rh-zmk.uf2 (127 KiB)
- glove80_dongle-nrf52840dongle__zmk-zmk.bin (290 KiB)
- glove80_dongle.settings_reset-nrf52840dongle__zmk-zmk.bin (103 KiB)
You need dongle_fw.zip to flash to the PCA10059 board.
The glove80_custom-glove80_X-zmk.uf2 files need to be flashed to the left and right half of the keyboard.
When you switch from a config without a dongle to one with, or vice-versa, you need to flash the settings_reset firmwares in between.
To enter the Glove80 bootloader of the left half, turn it on while holding the MAGIC and E keys.
For the right half it's PgDn and I.
You can then simply drag-n-drop the corresponding .uf2 file to the removable drive that appeared.
If you haven't already, prepare nRF Util.
In this example I install to ~/bin, which is in my $PATH.
wget -O nrfutil https://files.nordicsemi.com/ui/api/v1/download?repoKey=swtools&path=external/nrfutil/executables/x86_64-unknown-linux-gnu/nrfutil&isNativeBrowsing=false
chmod a+x nrfutil
mv nrfutil ~/bin
nrfutil install nrf5sdk-tools
nrfutil install device
To enter the dongle bootloader, stick it into a USB port and press the RESET button.
Then flash the dongle_fw.zip.
nrfutil device program --firmware dongle_fw.zip --traits nordicDfu
If you ever need to reset the settings of the dongle, convert the .bin to a .zip first.
nrfutil pkg generate --hw-version 52 --sd-req=0x00  --application glove80_dongle.settings_reset-nrf52840dongle__zmk-zmk.bin --application-version 1 dongle_reset.zip
nrfutil device program --firmware dongle_reset.zip --traits nordicDfu
As mentioned above, when doing this initially you need to reset the settings of the two previously paired halves first, to clear the cached bluetooth pairing keys. Then plug in the dongle with its new firmware and turn on the two keyboards with their new firmware. They will automatically pair and everything should just work™, as usual with ZMK.
Software Implementation
As a first step I've taken a look at the ZMK documentation. They have a great guide for configuring dongles. I also searched GitHub and found "zmk-dongle-config" by stammy, which also seems to be based on the Glove80.
The repo stops halfway short, when building I got a firmware build that properly paired the two peripherals to the central. But it didn't know how to interpret the keypresses, as the layouts were missing. So finishing according to the documentation, I had a working keyboard.
At this point I need to mention the differences between upstream ZMK and the MoErgo fork. The stock Glove80 firmware uses the RGB per-key backlight to indicate status information like the battery level and BLE profiles. This is not supported in the upstream ZMK firmware. Even following the ZMK guide I was not able to get the MoErgo fork to build for a dongle.
But even though I was not expecting the RGB indicators to work on my upstream ZMK build, at least the RGB backlight animations should have worked, but didn't. An issue by Samsuper12 brought me on the right track for that. The dongle device tree also needed RGB backlight configured. So I copied the corresponding nodes from the Glove80 device tree, and then RGB backlight was working as well.
This only left the problem of not seeing the battery level of the keyboard now. ZMK supports reporting battery levels, but only via BLE. Fortunately there is a pullrequest that implements battery level reporting via USB HID, and there even is a branch by "zampierilucas" that implements multiple battery levels for Linux >= 7.2. I simply rebased that on the current ZMK upstream master, which worked without any conflicts.
Hardware
The dongle is plugged into an ugly hack consisting of two portable USB hubs, hidden behind my display, connected to my PC using a USB extension. This has been holding my webcam, AutoBrightness and a Logitech dongle. And now this keyboard dongle as well.
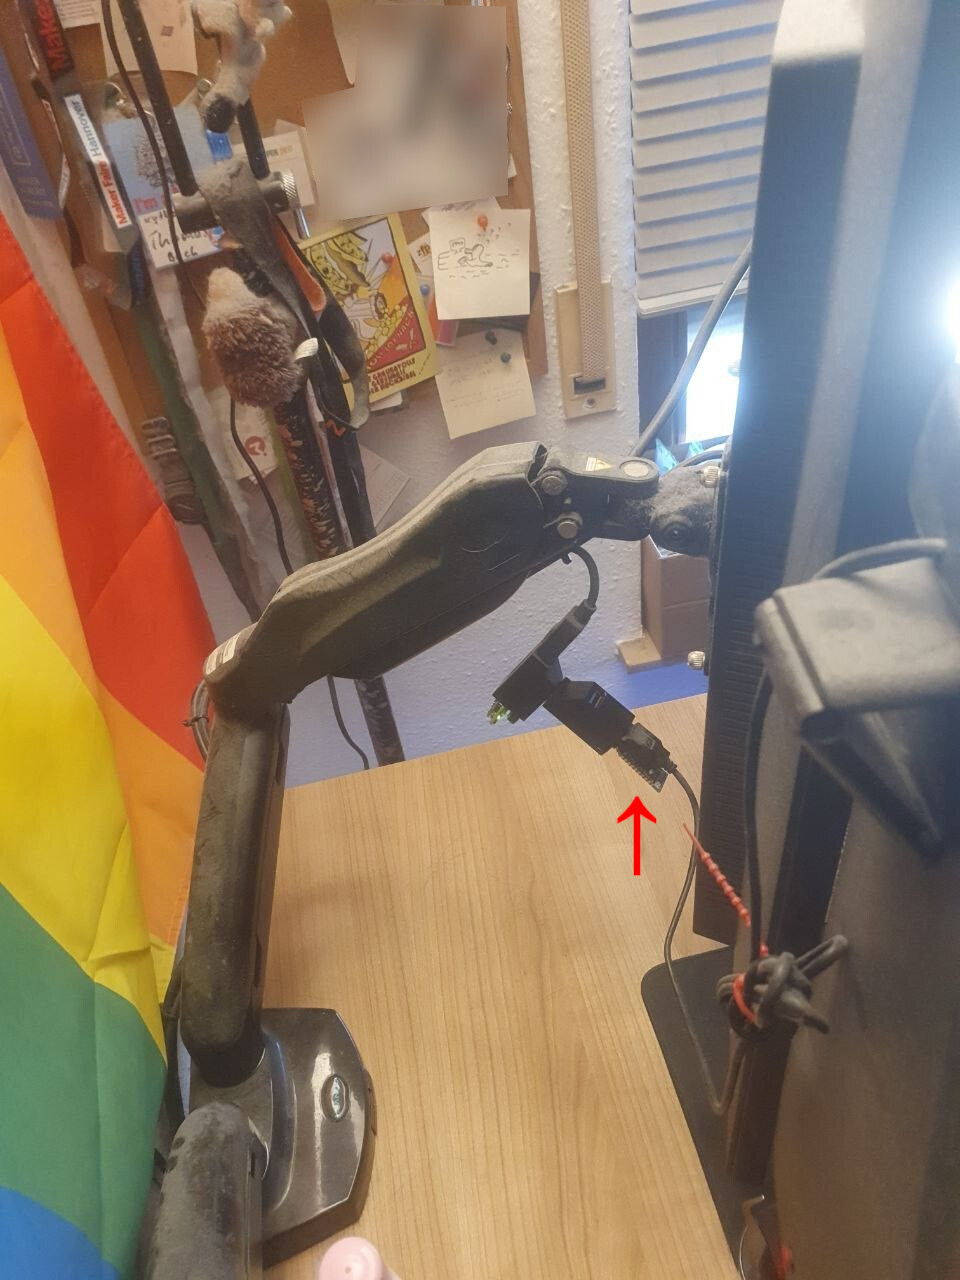
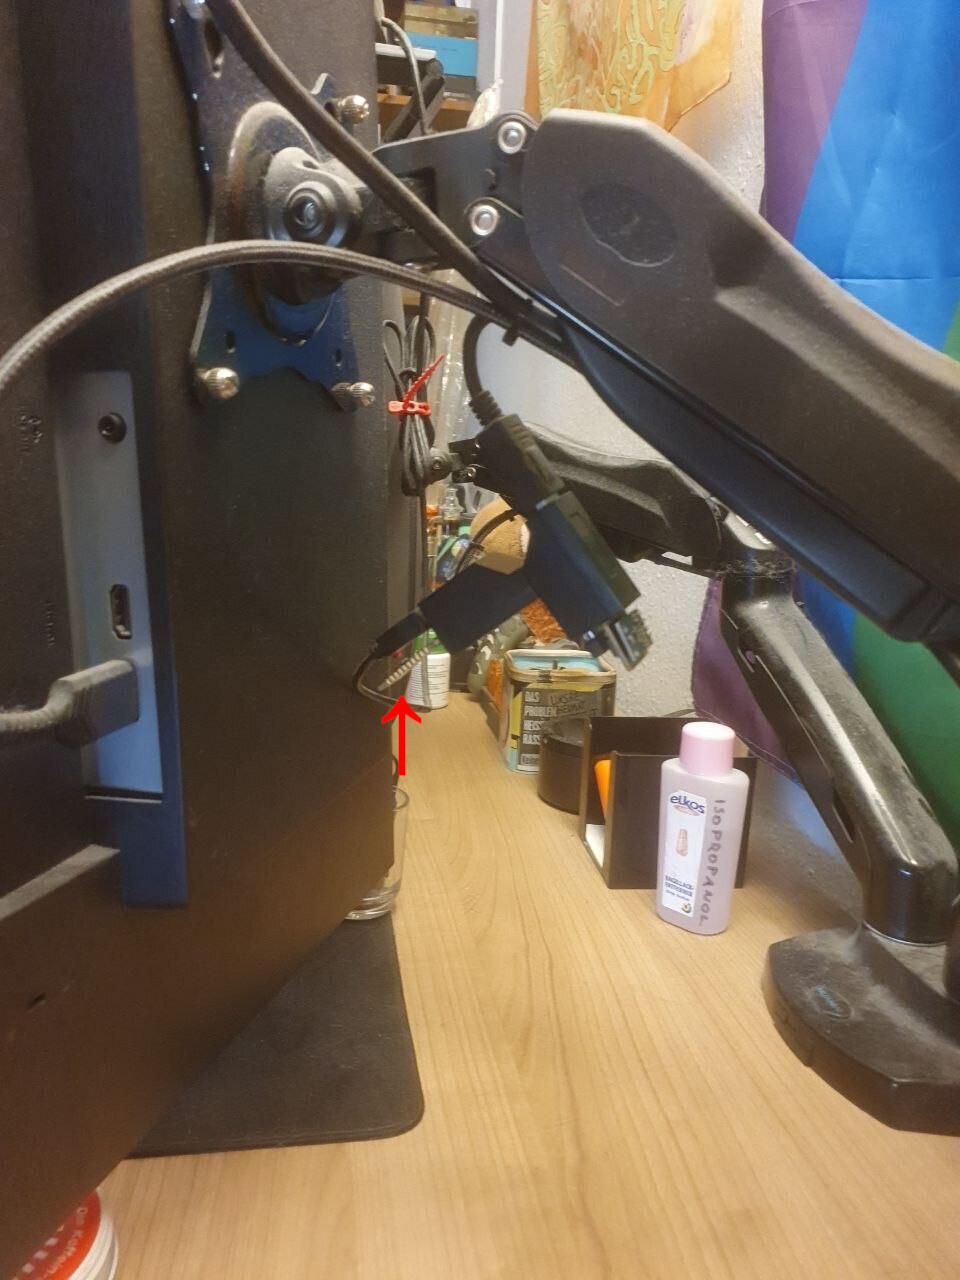
The 3D printed case is "nRF52840 Dongle case with Button accessible" by janxgeist. Though I actually didn't end up using it.
Logging Battery Levels
Based on the idea from this blog post I wrote a shell script that reads available battery states from /proc and outputs it for Influx in line-protocol format.
#!/bin/bash

for d in /sys/class/power_supply/*/ ; do
        # ZMK etc.
        if [ -f "$d/capacity" ] && [ -f "$d/status" ] && [ -f "$d/model_name" ] && [ -f "$d/type" ] ; then
                CAPACITY=`cat "$d/capacity"`
                STATUS=`cat "$d/status"`
                MODEL=`cat "$d/model_name" | sed 's/ /\\\\&/g' | sed 's/,/\\\\&/g' | sed 's/=/\\\\&/g'`
                TYPE=`cat "$d/type" | sed 's/ /\\\\&/g' | sed 's/,/\\\\&/g' | sed 's/=/\\\\&/g'`
                DIR=`basename "$d" | sed 's/ /\\\\&/g' | sed 's/,/\\\\&/g' | sed 's/=/\\\\&/g'`
                echo "battery,name=${MODEL},type=${TYPE},protocol=HID,path=${DIR} capacity=${CAPACITY}i,status=\"${STATUS}\""
        fi

        # Logitech HID++
        if [ -f "$d/capacity_level" ] && [ -f "$d/status" ] && [ -f "$d/manufacturer" ] && [ -f "$d/model_name" ] && [ -f "$d/type" ] && [ -f "$d/serial_number" ] ; then
                LEVEL=`cat "$d/capacity_level"`
                STATUS=`cat "$d/status"`
                MANUFACTURER=`cat "$d/manufacturer" | sed 's/ /\\\\&/g' | sed 's/,/\\\\&/g' | sed 's/=/\\\\&/g'`
                MODEL=`cat "$d/model_name" | sed 's/ /\\\\&/g' | sed 's/,/\\\\&/g' | sed 's/=/\\\\&/g'`
                TYPE=`cat "$d/type" | sed 's/ /\\\\&/g' | sed 's/,/\\\\&/g' | sed 's/=/\\\\&/g'`
                SERIAL=`cat "$d/serial_number" | sed 's/ /\\\\&/g' | sed 's/,/\\\\&/g' | sed 's/=/\\\\&/g'`
                DIR=`basename "$d" | sed 's/ /\\\\&/g' | sed 's/,/\\\\&/g' | sed 's/=/\\\\&/g'`
                echo "battery,name=${MANUFACTURER}\ ${MODEL},type=${TYPE},protocol=HID++,path=${DIR},serial=${SERIAL} level=\"${LEVEL}\",status=\"${STATUS}\""
        fi
done
Here is some example output.
 $ batteries.sh
battery,name=ZMK\ Project\ G80\ Dongle,type=Battery,protocol=HID,path=hid-XXX-battery-5 capacity=91i,status="Discharging"
battery,name=ZMK\ Project\ G80\ Dongle,type=Battery,protocol=HID,path=hid-XXX-battery-6 capacity=75i,status="Discharging"
battery,name=Logitech\ MX\ Ergo\ Multi-Device\ Trackball\ ,type=Battery,protocol=HID++,path=hidpp_battery_0,serial=XXX level="Normal",status="Discharging"
I stored this in /usr/local/bin/batteries.sh and set the executable-bit.
Using a small telegraf config snippet my desktop PC will call this shell script and write the output to my Influx DB.
[[inputs.exec]]
  commands = [ "/usr/local/bin/batteries.sh" ]
  data_format = "influx"
  interval = "60s"
This is then visualized, as usual, in my Grafana dashboard.
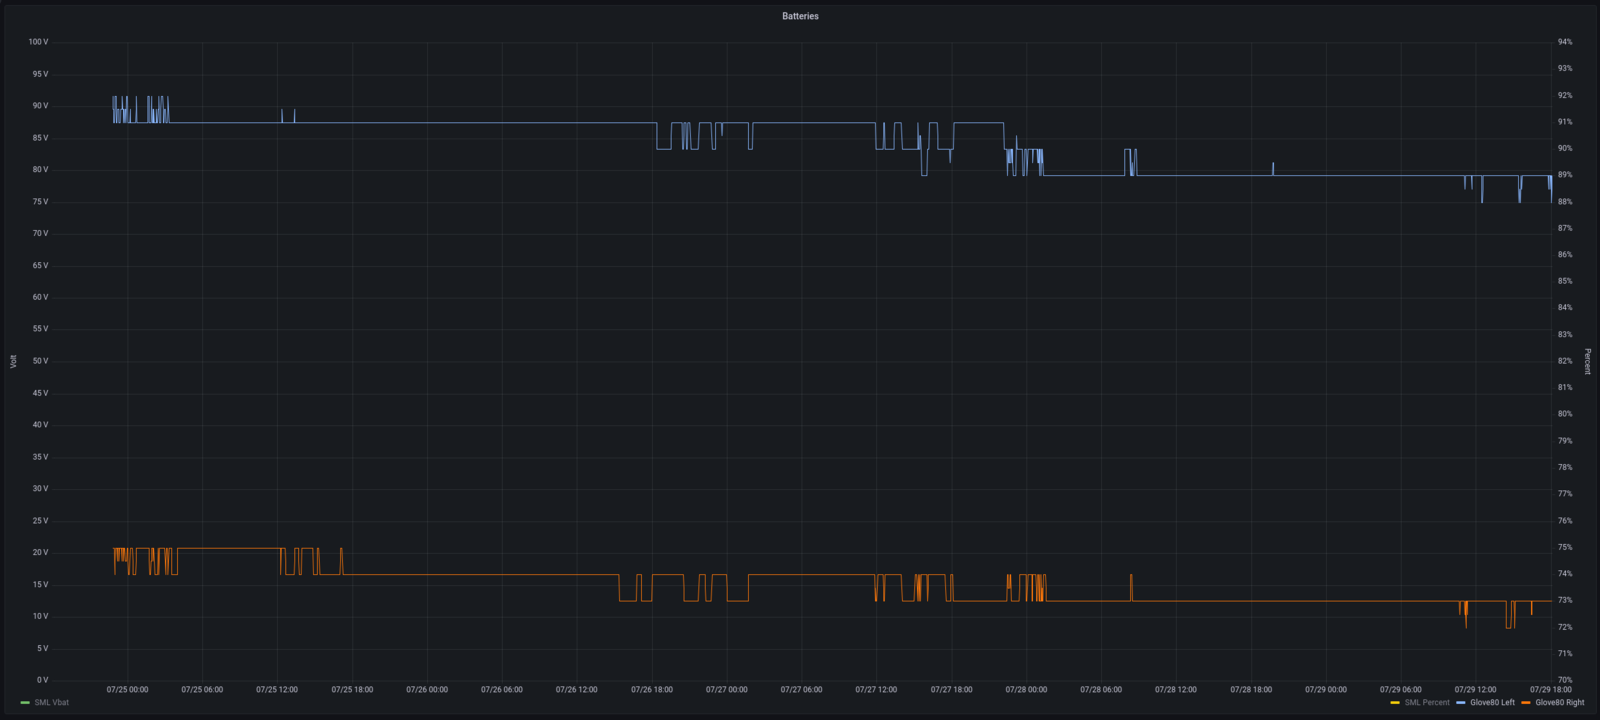
In 5 days since installing the script both peripheral batteries have gone down by around 2%.
So it looks like the promised reduction in energy usage was true. Previously, the right half (peripheral) had a runtime of a couple of months. The left halt (central) had a much shorter battery life, of a couple of weeks maybe. It should be mentioned, I never turn the keyboards or my desktop PC off.
Now the left half seems to have similar battery life as the right half, as they both act as peripheral. The "large" energy consumption is in the central, which is now powered via USB from the desktop.

